|
||||||||||||||||||||||||||||||||||||
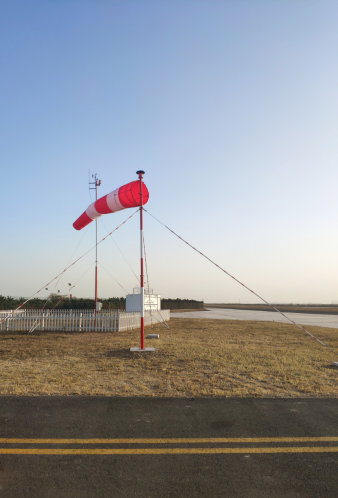
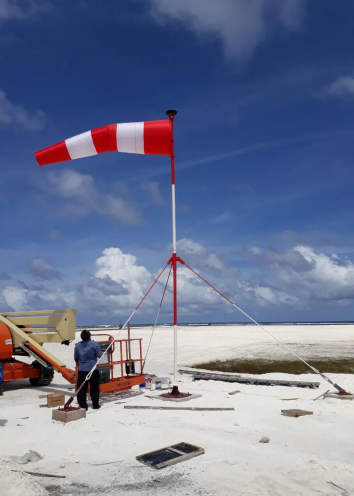
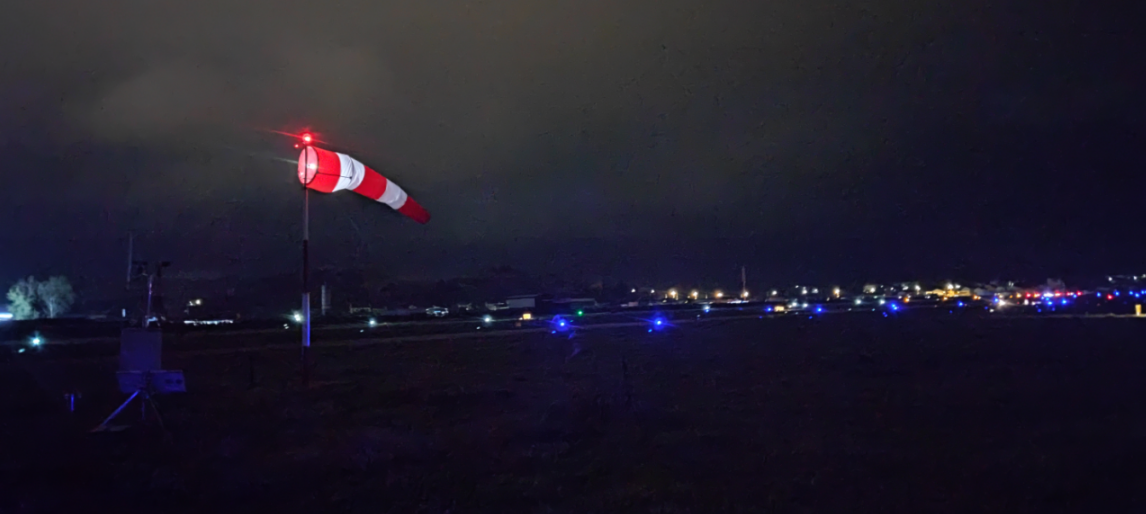
AIRPORT WINDSOCK |
||||||||||||||||||||||||||||||||||||
|
||||||||||||||||||||||||||||||||||||
Features and Benefits |
||||||||||||||||||||||||||||||||||||
12 feet(3.6 meters),Size 2 Red/White sock.
|
||||||||||||||||||||||||||||||||||||
Specifications |
||||||||||||||||||||||||||||||||||||
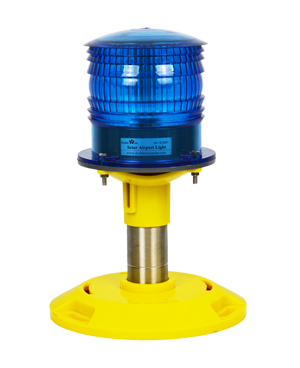
CASE STUDIES for Solar Airport Lighting >>>
|
||||||||||||||||||||||||||||||||||||
Related Products |
||||||||||||||||||||||||||||||||||||
FAQ |
||||||||||||||||||||||||||||||||||||
1.How to choose the working mode? When these night landing lights are needed,the mode has to be used.
• Key 2: The obstruction light is turned ON only; When there are not flying tasks at night,this working mode is the best choice.
• Key 3: The floodlight is turned ON only;
• Key 4: The two lights are turned OFF; When the wind vane isn’t used for a long period,the mode should be chosen.
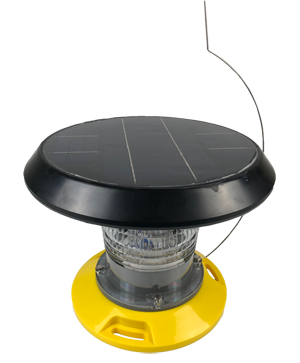
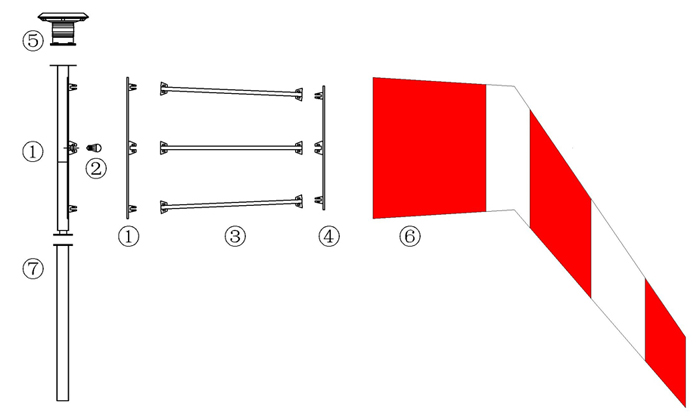
① Stainless Steel Bracket ② LED Floodlight ③ Stainless Steel Connector ④ Stainless Steel Support ⑤ Solar Obstruction Light ⑥ Windsock ⑦ Pole
The assembly steps for each component are as follows: Step 1: Connect ① and ④ with ③ ; Please note: Connecting ③ to ① and connecting③ to④ must be synchronized. Step 2: Connect ② to ① and fasten with a setscrew. (Note: Please use mild strength) Step 3: Connect conductors between ⑤ and ①, fasten using screws (Note: please connect correctly by connecting the same color conductors (e.g. red to red; black to black)) Step 4: Insert the frame consisted of ①, ③ and ④ into ⑥, fasten with ropes. Step 5: Connect the assembly from step 1 to 4 with ⑦ using screws.Yes,you can easily turn off this lantern by a touch switch in the side of it.We also suggest that you turn off it when it isn’t used for a long time.So it is only charged during the day and discharged at night. |
||||||||||||||||||||||||||||||||||||

